Games
Articles
Game Hubs
Final Fantasy XIV
Destiny 2
Infinite Craft
Genshin Impact
Sims 4
Minecraft
Pokemon
Elden Ring
0
Comments
PUBLISHED
UPDATED
7 Key Monster Train Tips the Game Doesn't Tell You
chuggachuggachuggachoochooooooooo
Ren
Let us know what you think
See what others are saying
0
Comments
About the Author
Ren
0 Comments
Newest
TAGS
Guides
Monster Train
Related Posts
Lost Ark Walkthrough - All Main Story Quests Explained
Diego Arguello
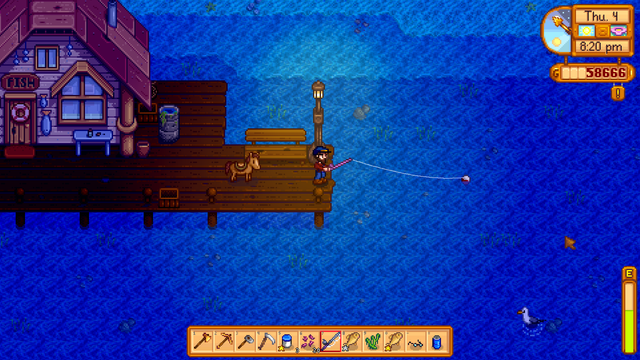
Stardew Valley Fishing Guide - Where and When to Catch the Legendary Fish
Sam Desatoff
,
Dillon Skiffington
Is Squall Hotter in Kingdom Hearts Than in Final Fantasy VIII?
Jordan Mallory